Orfeo ToolBox for QGIS#
In addition to the GRASS GIS and SAGA GIS processing tools, we will also make use of the tools provided by Orfeo ToolBox (OTB) for carrying out the object-based image classification in QGIS.
To install OTB, visit the downloads page, then click the button for your operating system to download a compressed folder to your computer.
Once the download has finished, locate the compressed folder (most likely in your Downloads folder), right-click on the file, and select Extract all.
Note
If you have 7-Zip installed, you may want to use that to extract the files, rather than the built-in extraction too.
If you don’t have 7-Zip installed, you may want to do that (it is also free!). In addition to the typically better performance than the built-in compression tools for Windows, it offers a wider range of support for different compression formats, including the zipped tar (.tar.gz) files used for Landsat files.
We’re going to extract the files to a new folder, otb, in our HOME directory: C:\Users\{username}\otb,
where {username} is your username (e.g., “bob”). This way, we know that (a) we have permission to extract the files
here, and (b) we can easily find the files later.
Using either 7-Zip or the built-in extraction tool, enter the name of the new directory under
Files will be extracted to this folder:, making sure to replace {username} with your own username:
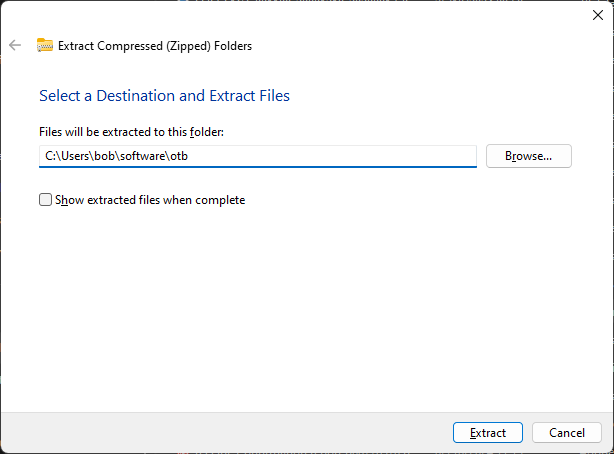
Click Extract to begin extracting the files.
qgis plugin#
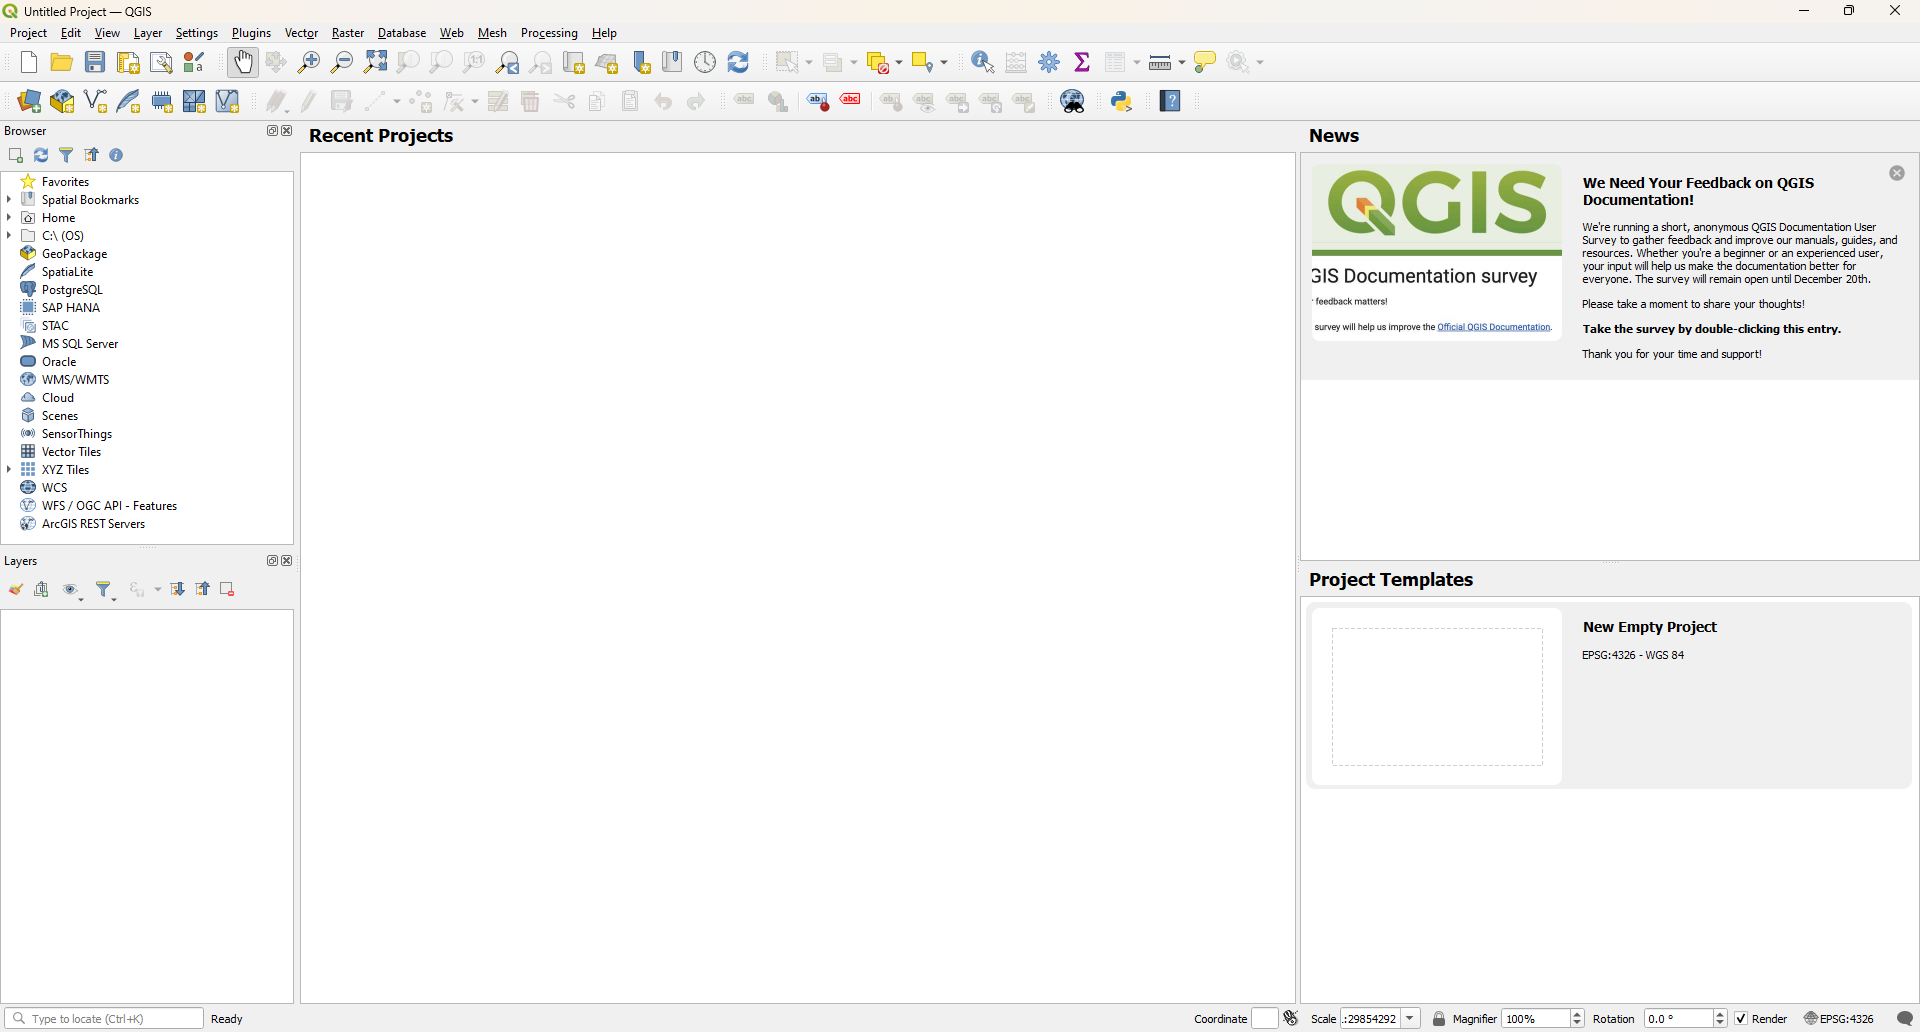
Once the extraction has finished, open QGIS:
Open the plugin manager (Plugins > Manage and Install Plugins), select the All tab, then type
“orfeo” into the search bar:
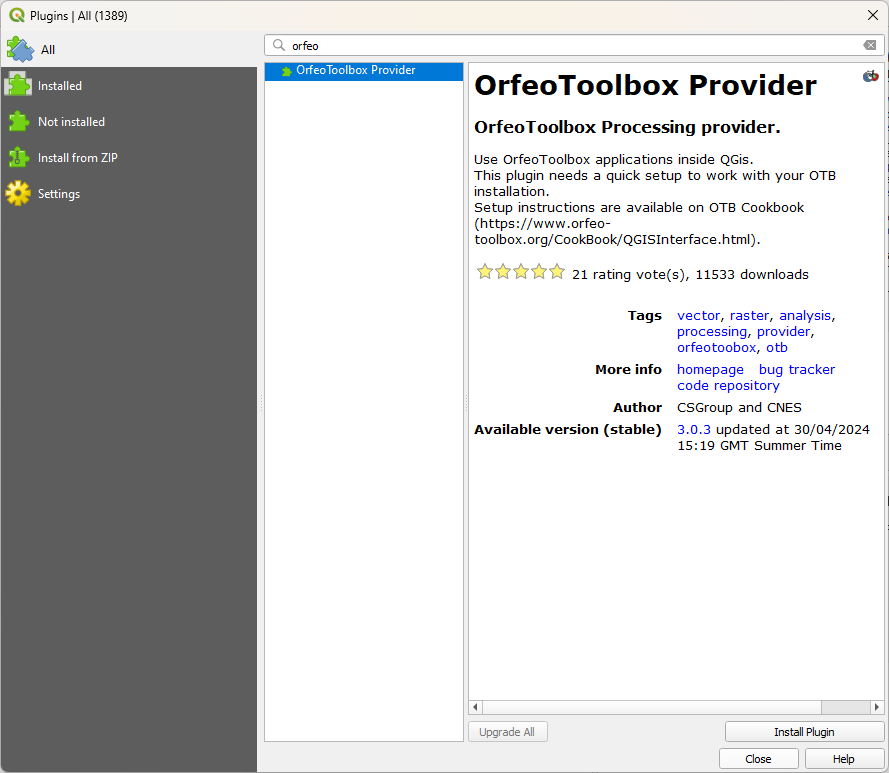
As you did for both SAGA and GRASS, install the plugin by clicking Install, then close the plugin manager. The
last bit of setup we need to do is to tell the plugin where to find the Orfeo ToolBox files that we just extracted.
Open the Options manager from the Settings menu (Settings > Options):
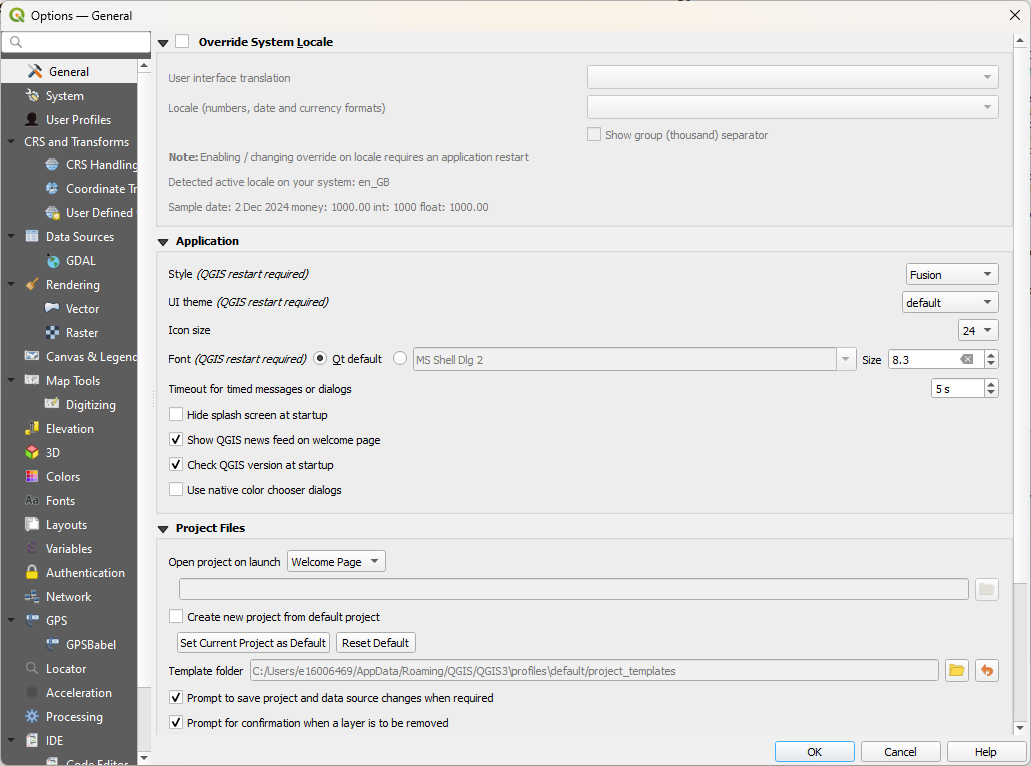
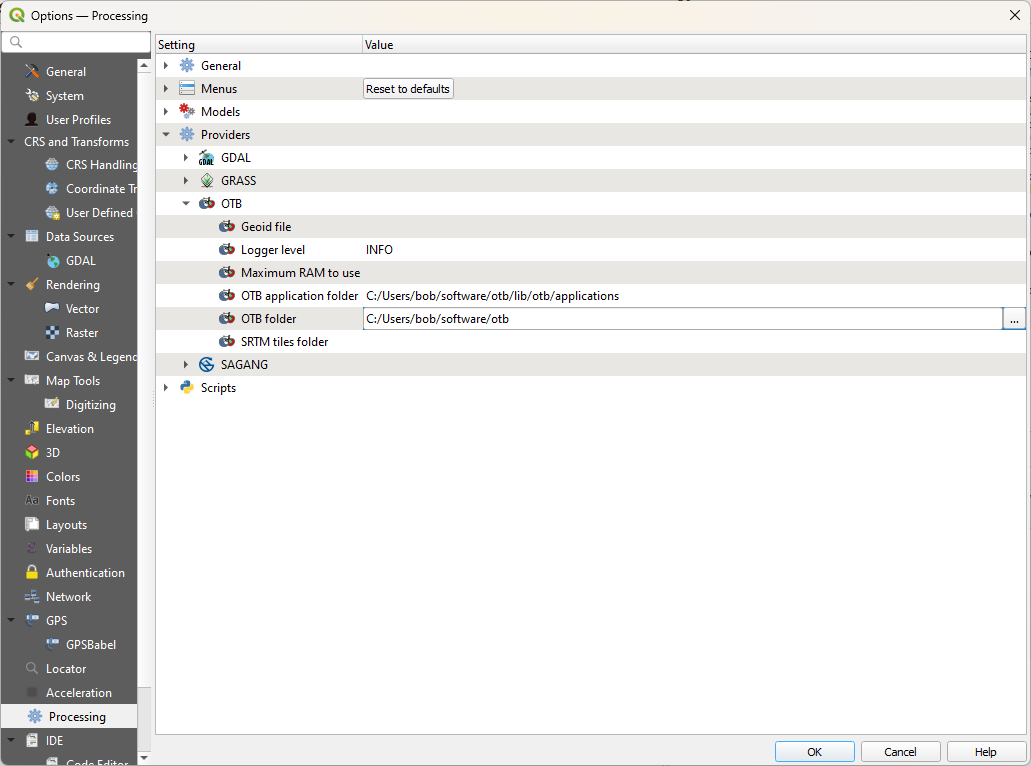
On the left hand side, select Processing:
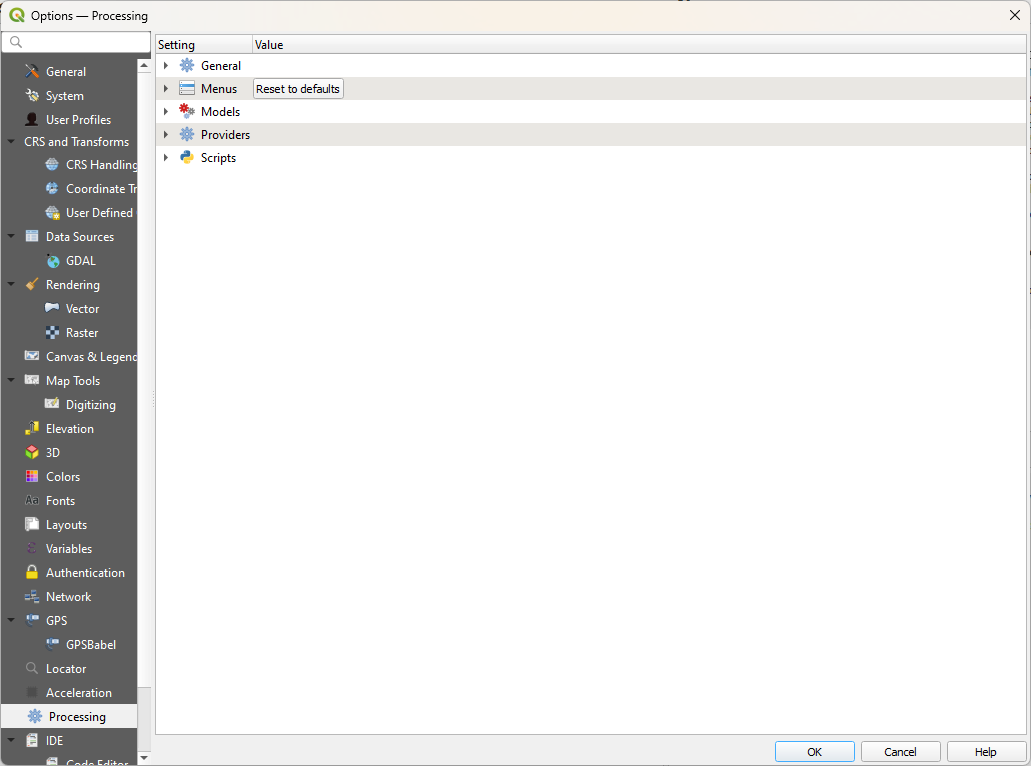
Then, expand Providers by clicking on the arrow, followed by OTB:
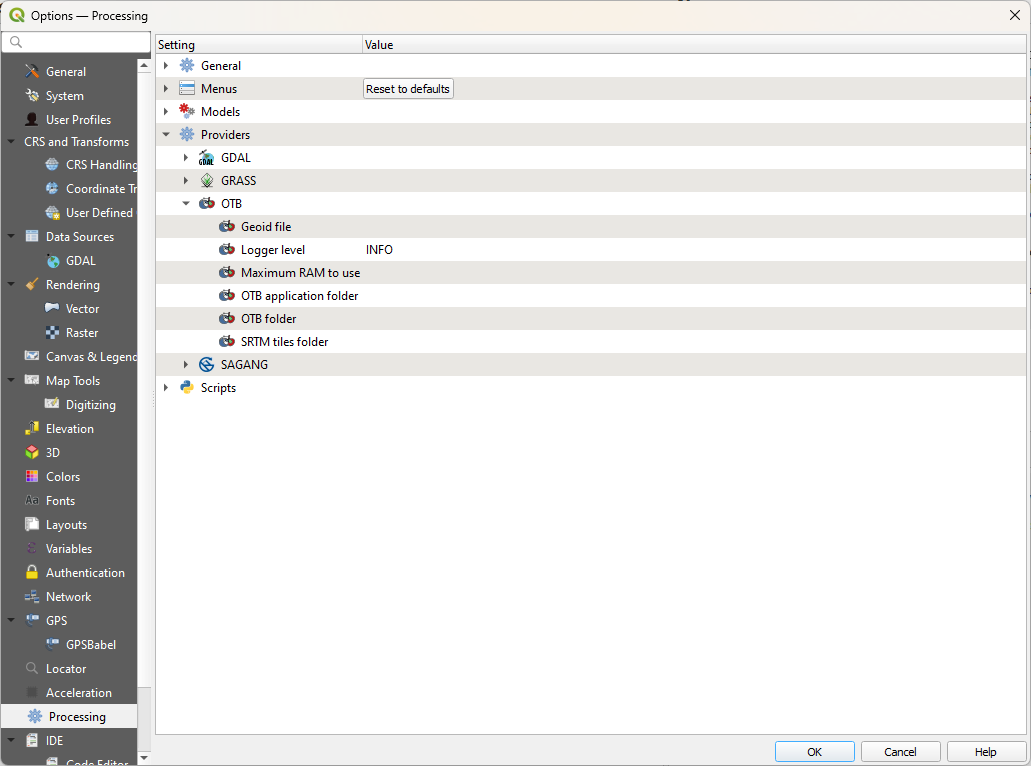
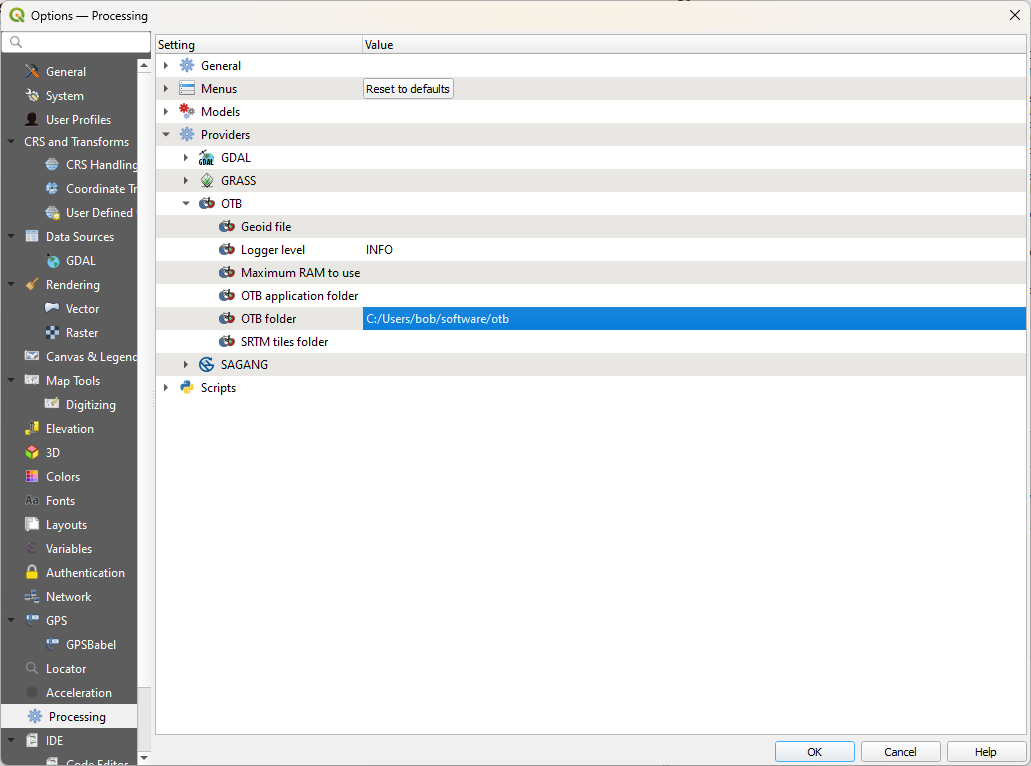
If you double-click the field next to OTB folder, you should see a button with three dots appear. Click this
to open a file browser, then navigate to where you just extracted the Orfeo ToolBox files (e.g.,
C:\Users\{username}\software\otb). Click Select Folder, which should add the path to the folder to the
settings:
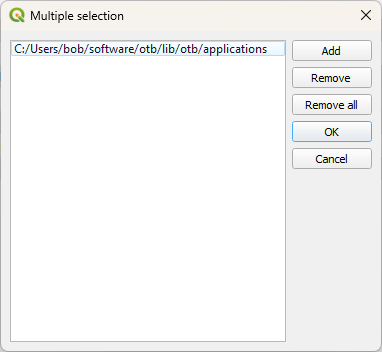
Now, we can do the same for OTB application folder: double-click the empty field, then click the button that
appears to bring up a new dialog:
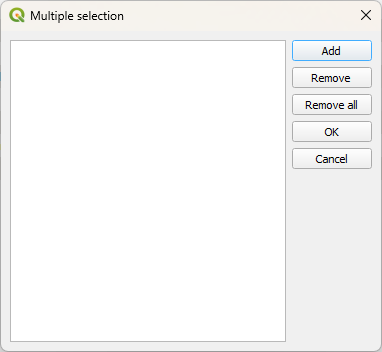
Click Add, then browse within the OTB folder (C:\Users\{username}\software\otb) to find the
applications folder.
It should be located at {otb_folder}\lib\otb\applications, so first click on the lib folder, followed by
otb, and then highlight the applications folder. Click Select Folder, which will add this path to the
dialog:
Finally, click OK to return to the options window. You should see that both fields have now been populated:
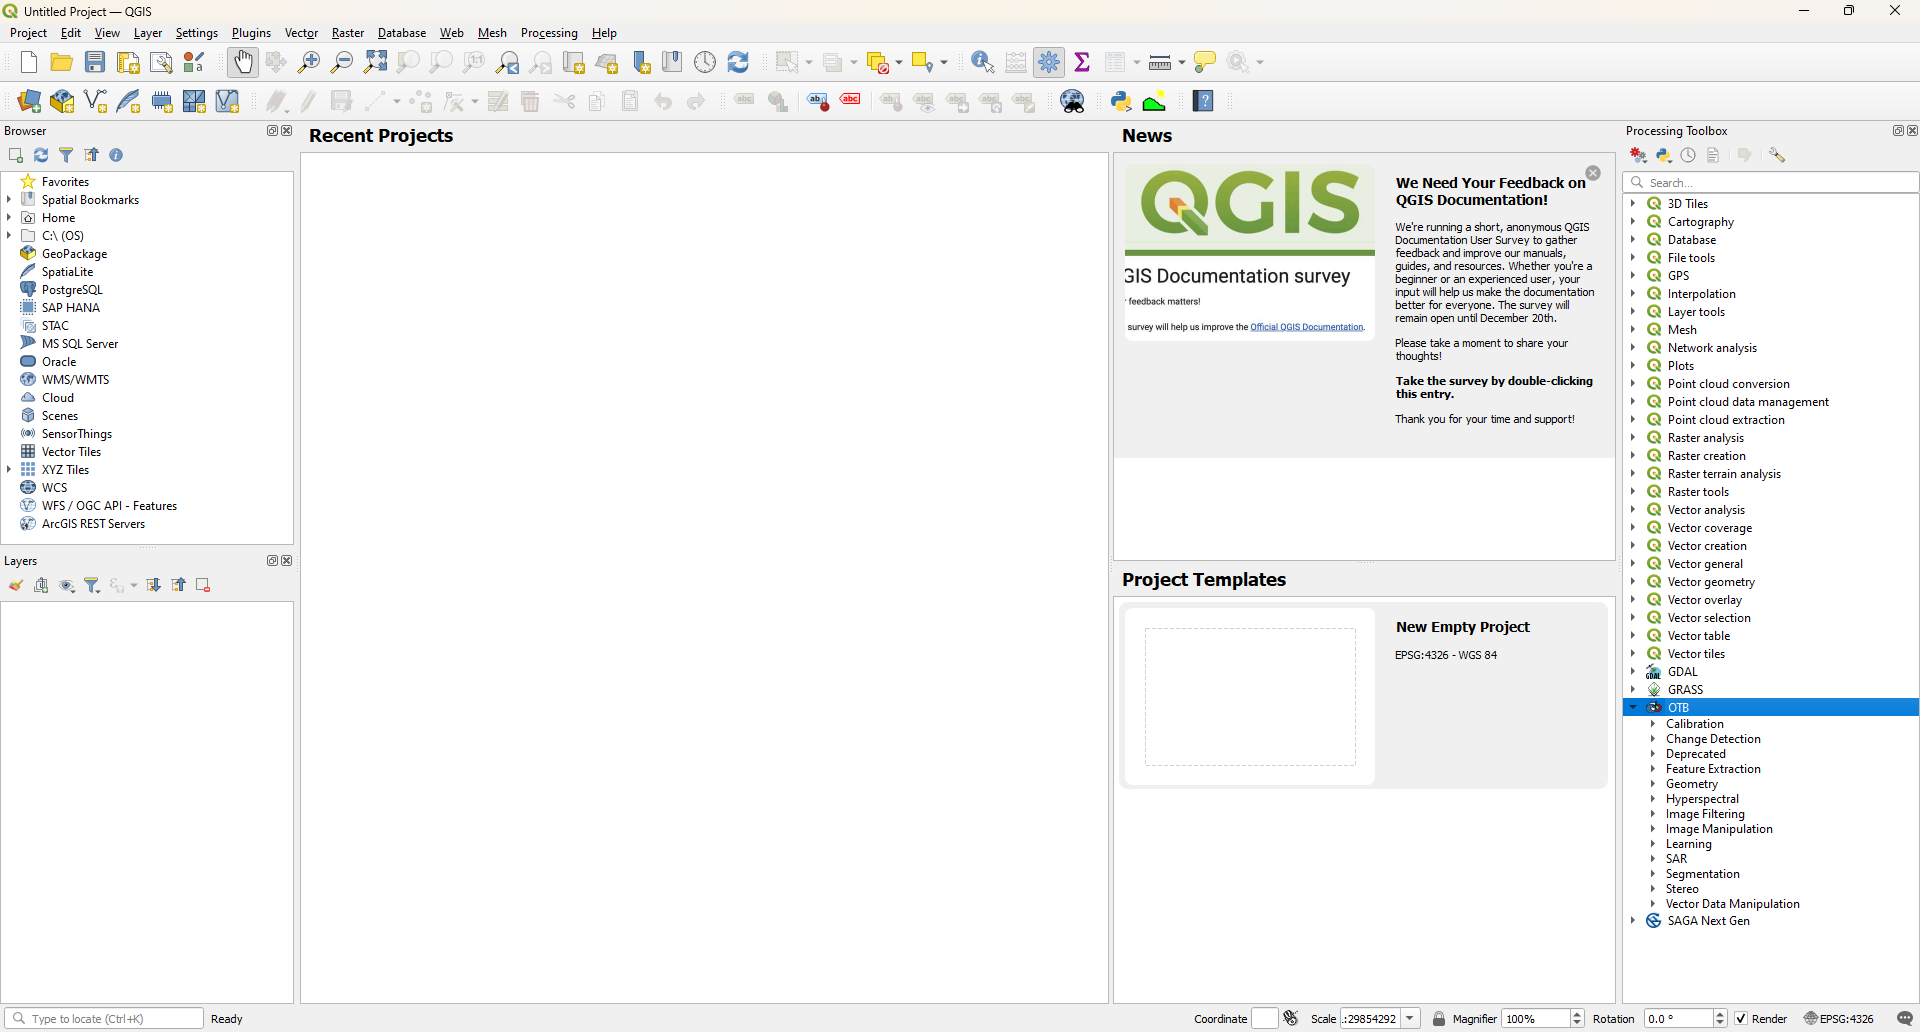
To check that this has worked, open the Processing toolbox (Processing > Toolbox). After a minute,
and assuming that you have selected the right folders, you should see the OTB toolbox added to the list:
That’s the end of the setup steps - from here, you should be able to get started on the practical exercises. If
you don’t see the three toolboxes (GRASS, SAGA, and OTB), post a message in the discussion board that includes
screenshots of the Processing Options window - we should be able to get you sorted.