cloning the repository#
Before proceeding, make sure that you read the two boxes below carefully.
Note
On this page, there are instructions for two ways to clone the repository: using GitHub Desktop, and using the git command-line interface.
Choose ONE of the two ways to clone the repository - you do not need to clone it twice.
Warning
Windows has something called controlled folder access, which protects sensitive folders from being changed by unknown/untrusted programs. This means that if you clone your repository to one of these folders (for example, anything on OneDrive), you may be unable to run the notebooks and scripts for the module.
For example, you might see an extremely vague error message such as the following:
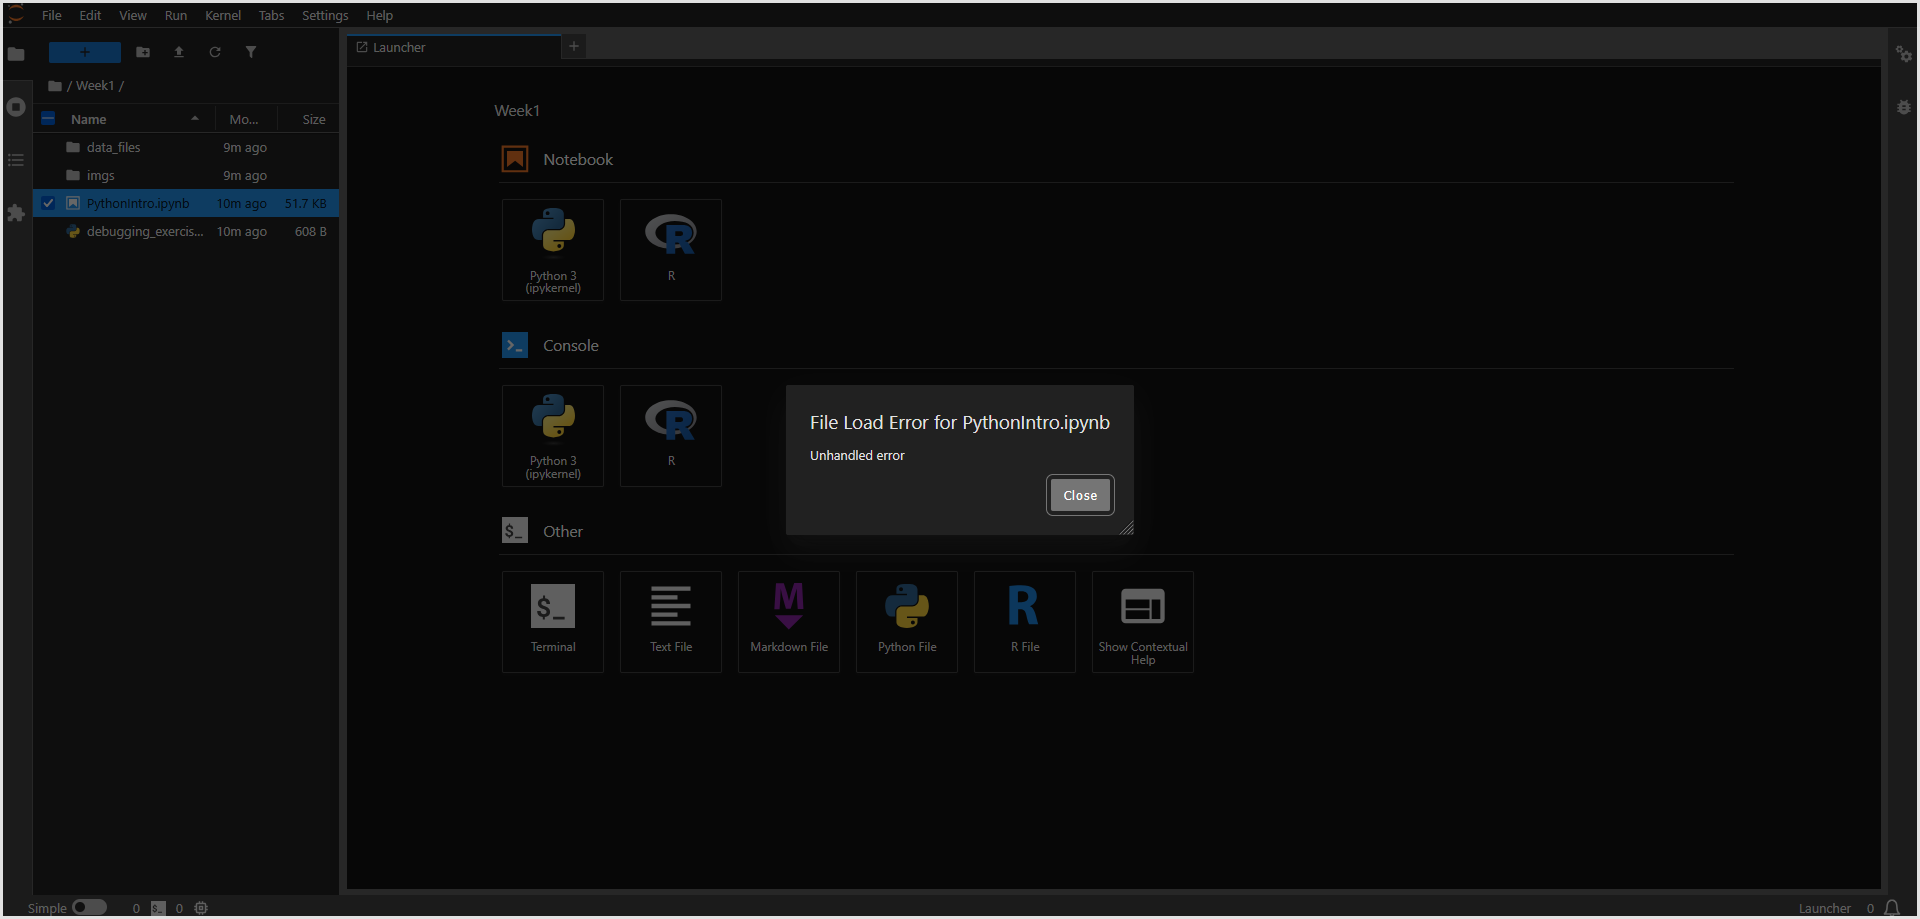
This (most likely) means that jupyter is unable to write to the repository directory.
You can still clone your repository to a OneDrive folder, but you will need admin rights to your machine to be able to complete the different exercises.
If you do not have admin rights to your machine, you will need to ask your IT service desk for help, or you will need to clone the repository to a directory outside of OneDrive (note that this means outside of folders like ~/Documents, as well!).
In order to give the specific installation of python from your new conda environment permission to write to OneDrive folders - this step will need to be completed after you have cloned the repository, and after you have created your conda environment.
To do this, search for “controlled folder access” in the Windows search bar, then click on “Allow an app through Controlled folder access”. After entering your admin credentials, click on Add an allowed app, followed by Browse all apps.
Now, navigate to the folder where your egm722 environment has been created and select python.exe.
Most likely, this is something like:
~/Anaconda3/envs/egm722/python.exe
where ~ is your home directory (e.g., C:\Users\{username}). Click Open to allow this version of
python to write to controlled folders.
Note that this only applies to this version of python. If you create another environment, you will need to repeat these steps to allow that version of python through controlled folder access.
github desktop#
Once you have forked the repository, you can clone (download) your fork to your computer. This will take a copy of the repository that’s saved on GitHub, and create a local version on your computer.
To do this, first open GitHub Desktop if it isn’t open already. You should see something like this (if you haven’t, you may need to login to your GitHub account - see here for instructions):
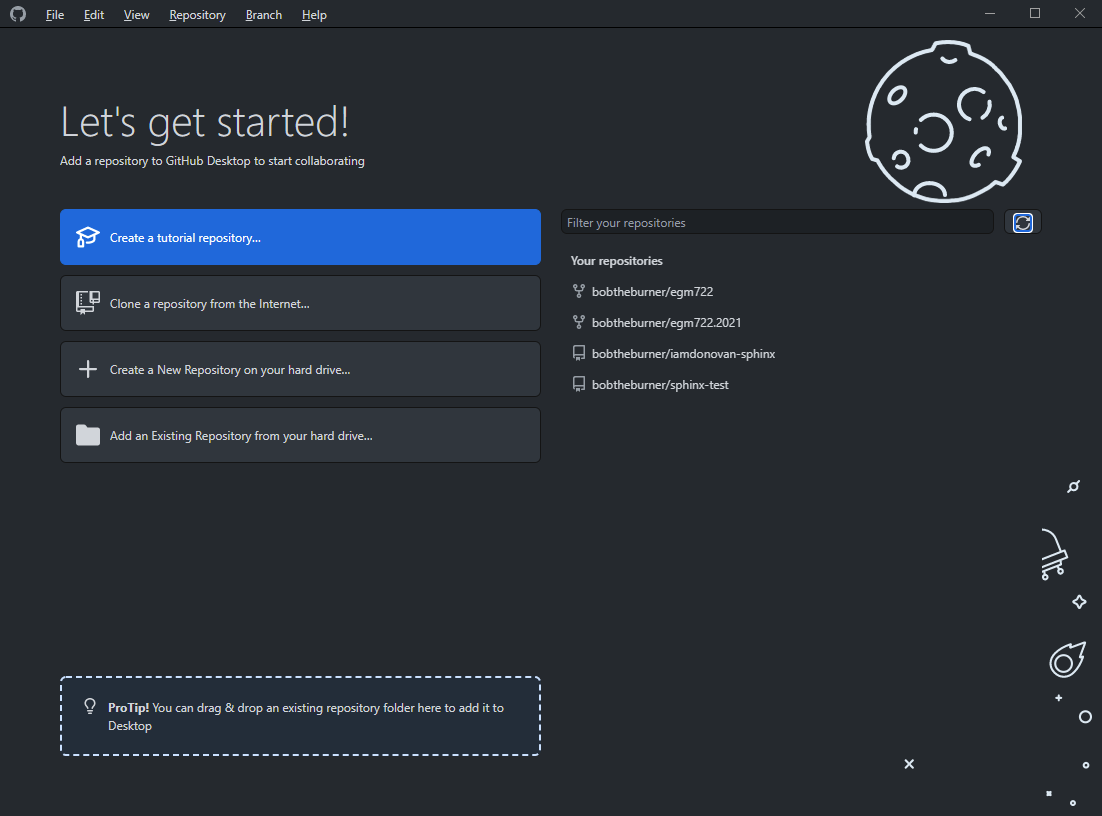
You should also see your repository listed under Your repositories. Click on
Clone a repository from the Internet, and you should see your forked version of the egm722 repository
(it will be listed as <your_github_username>/egm722):
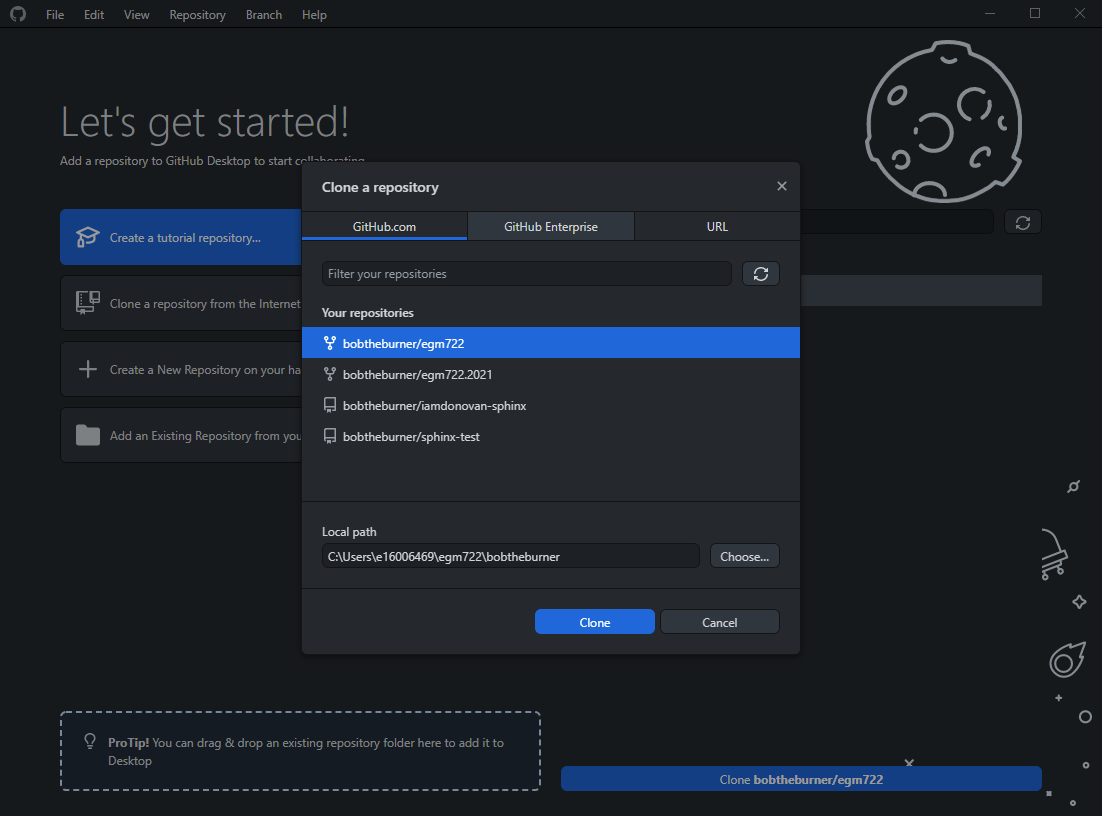
Select a local path to save the repository to, and make a note of the location (you’ll need it for all of the
practicals in the module!).
Select Clone, and you should see the following:
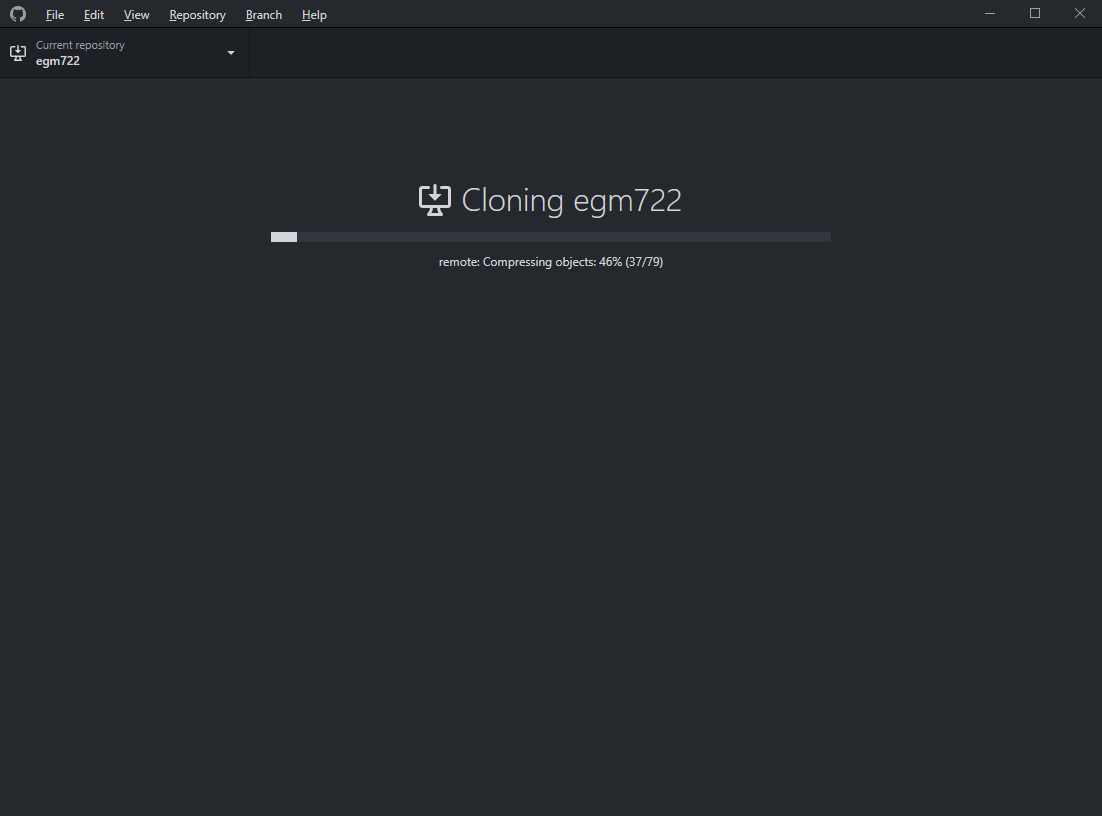
Finally, you’ll see the following:
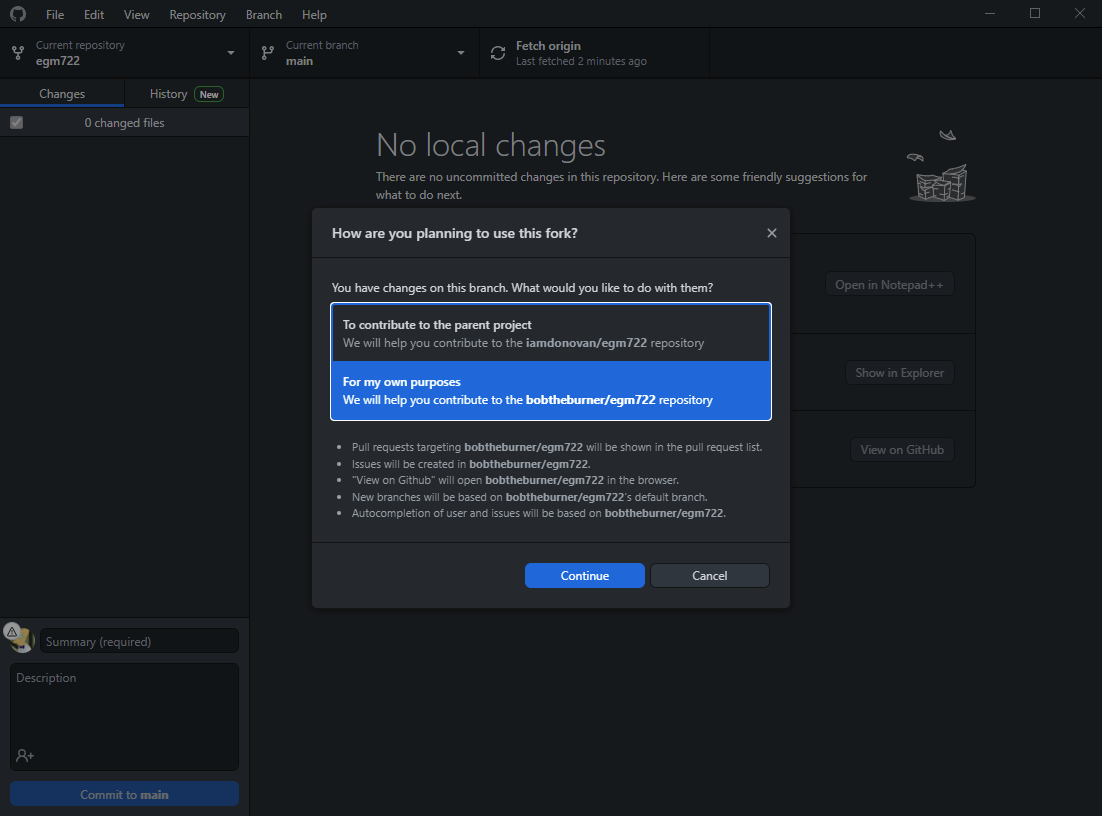
This is asking you what your purpose is with the repository - whether you want to develop your own version, or if
you plan to contribute to the upstream fork. For this module, you won’t be contributing to the upstream fork
(at least, not regularly), so choose For my own purposes, then continue.
Now that you’ve cloned the repository, you can move on to the next step: setting up conda
git command-line interface#
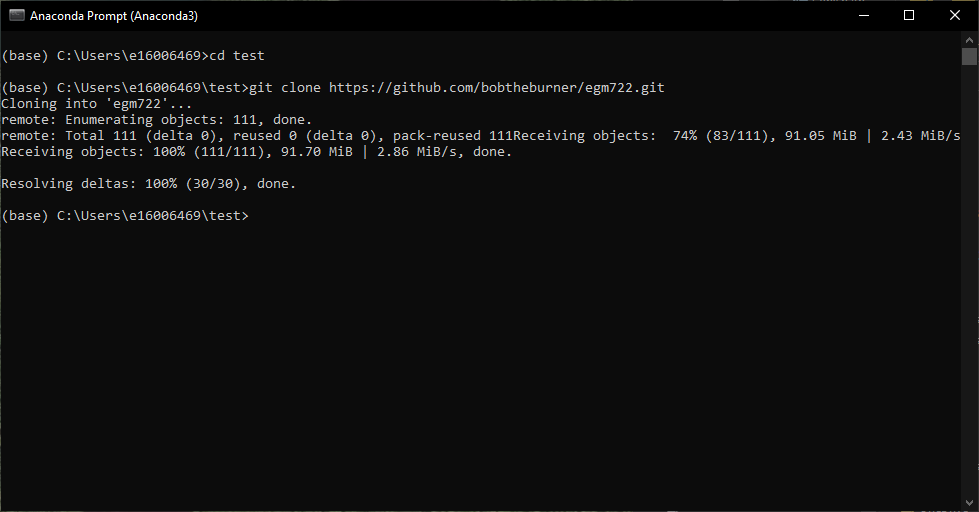
Open a Command Prompt, then navigate to the folder where you want to clone the repository using cd:
cd c:\Users\bob\projects
Now, enter the following command:
git clone https://github.com/your_username/egm722.git
Warning
Remember to replace your_username with your GitHub username!
You should see the following output on the screen:
Now that you’ve cloned the repository, you can move on to the next step: setting up conda