setting up a conda environment#
Note
This page provides instructions for creating a new conda environment using Anaconda Navigator, or using the Anaconda Command Prompt.
You only need to choose ONE of these methods for setting up the environment.
Danger
You should have already opened a GitHub account, installed git and GitHub Desktop, forked the workshop repository, cloned the repository to your computer, and installed Anaconda Navigator.
If you haven’t done all of these steps, please do so now before continuing.
anaconda navigator#
creating an environment#
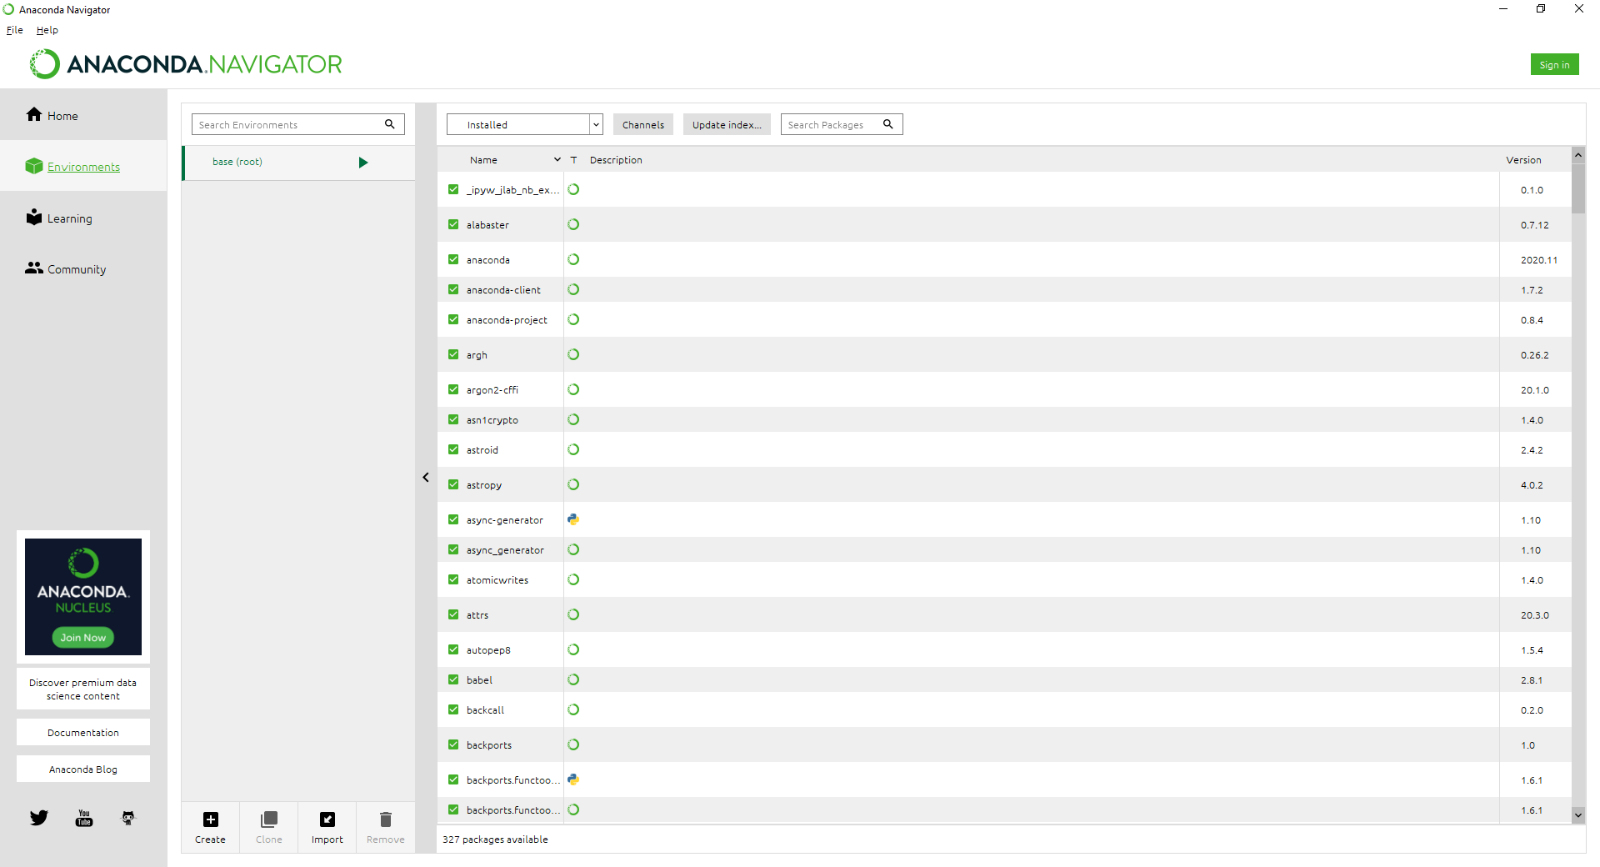
From the Start menu, open Anaconda Navigator. When it opens, click on the Environments tab on the left-hand side of the screen. You should see the following:
As mentioned above, conda is a package management system. We can use conda to create different programming
environments, which will enable us to keep track of and manage the specific versions of python packages that we use for
this module. It also enables us to easily share our environment specifications across different computers, so that we
can be sure that any processing steps that we do are consistent and reproducible.
We will be creating a new environment using the environment.yml file provided in the git repository. A .yml file is one of the ways that we can easily duplicate environments using conda or other package management systems – it provides a list of the packages for the package management system to find and install.
Open the environment.yml file in a text editor (NB – this means NotePad, Notepad++ or something similar, NOT MS Word!).
It should look something like this (the exact list of dependencies may differ somewhat):
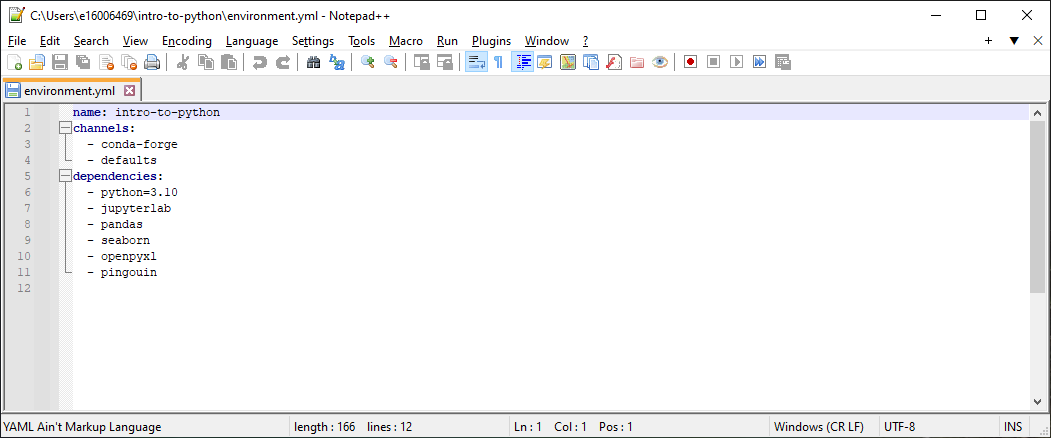
Here, you can see the name of the environment (intro-to-python), the channels to install packages from,
listed in order of preference, and the dependencies, or required packages.
From the Anaconda Navigator window, click on the Import button at the bottom of the Environments tab. An import window will open:

Click the folder icon to navigate to the environment.yml file on the Local drive, select it and click
Open. The window should now look like this:
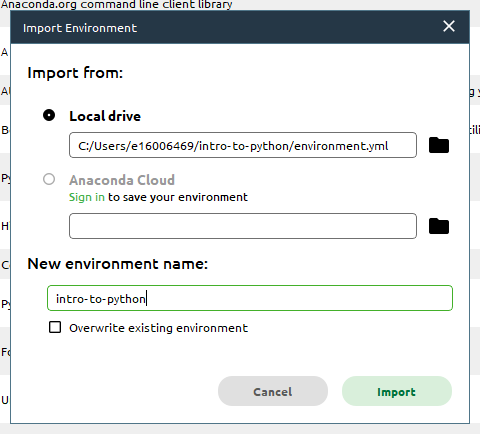
The Name field should be automatically populated based on the .yml file, but if it isn’t make sure to
change the name to intro-to-python.
Click Import to start setting up the environment. Depending on your connection speed and computer’s specifications, this may take some time. When it finishes, you should see the following screen:
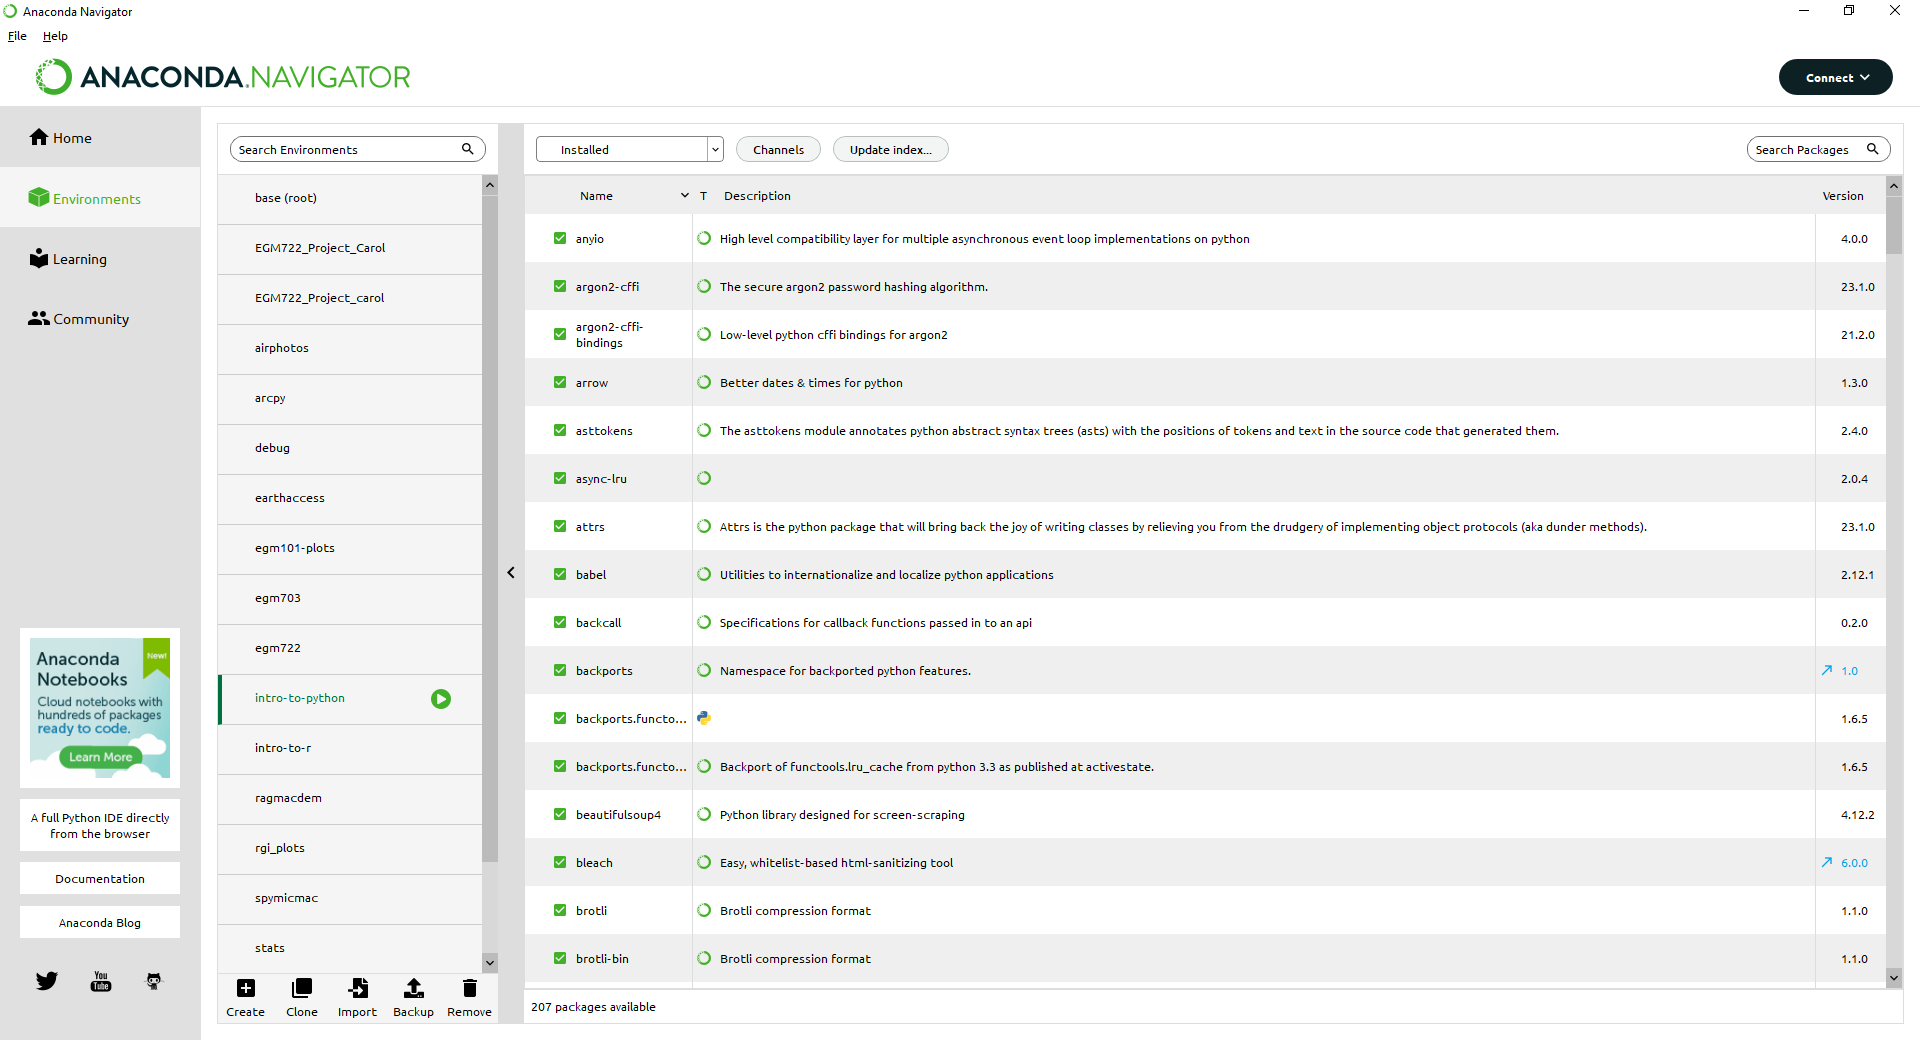
Note how many packages were actually installed – 207, from the 6 shown in the original .yml file. This is
because each of those 6 packages have additional dependencies which have to be installed as well. Fortunately,
all of this is done automatically by conda – we don’t have to worry about tracking down and installing each
individual dependency on our own.
Note
The exact number of packages may differ slightly, so don’t worry too much if you don’t have the same number shown here.
changing environments#
The next thing to do is to switch to the Home tab in Anaconda Navigator:
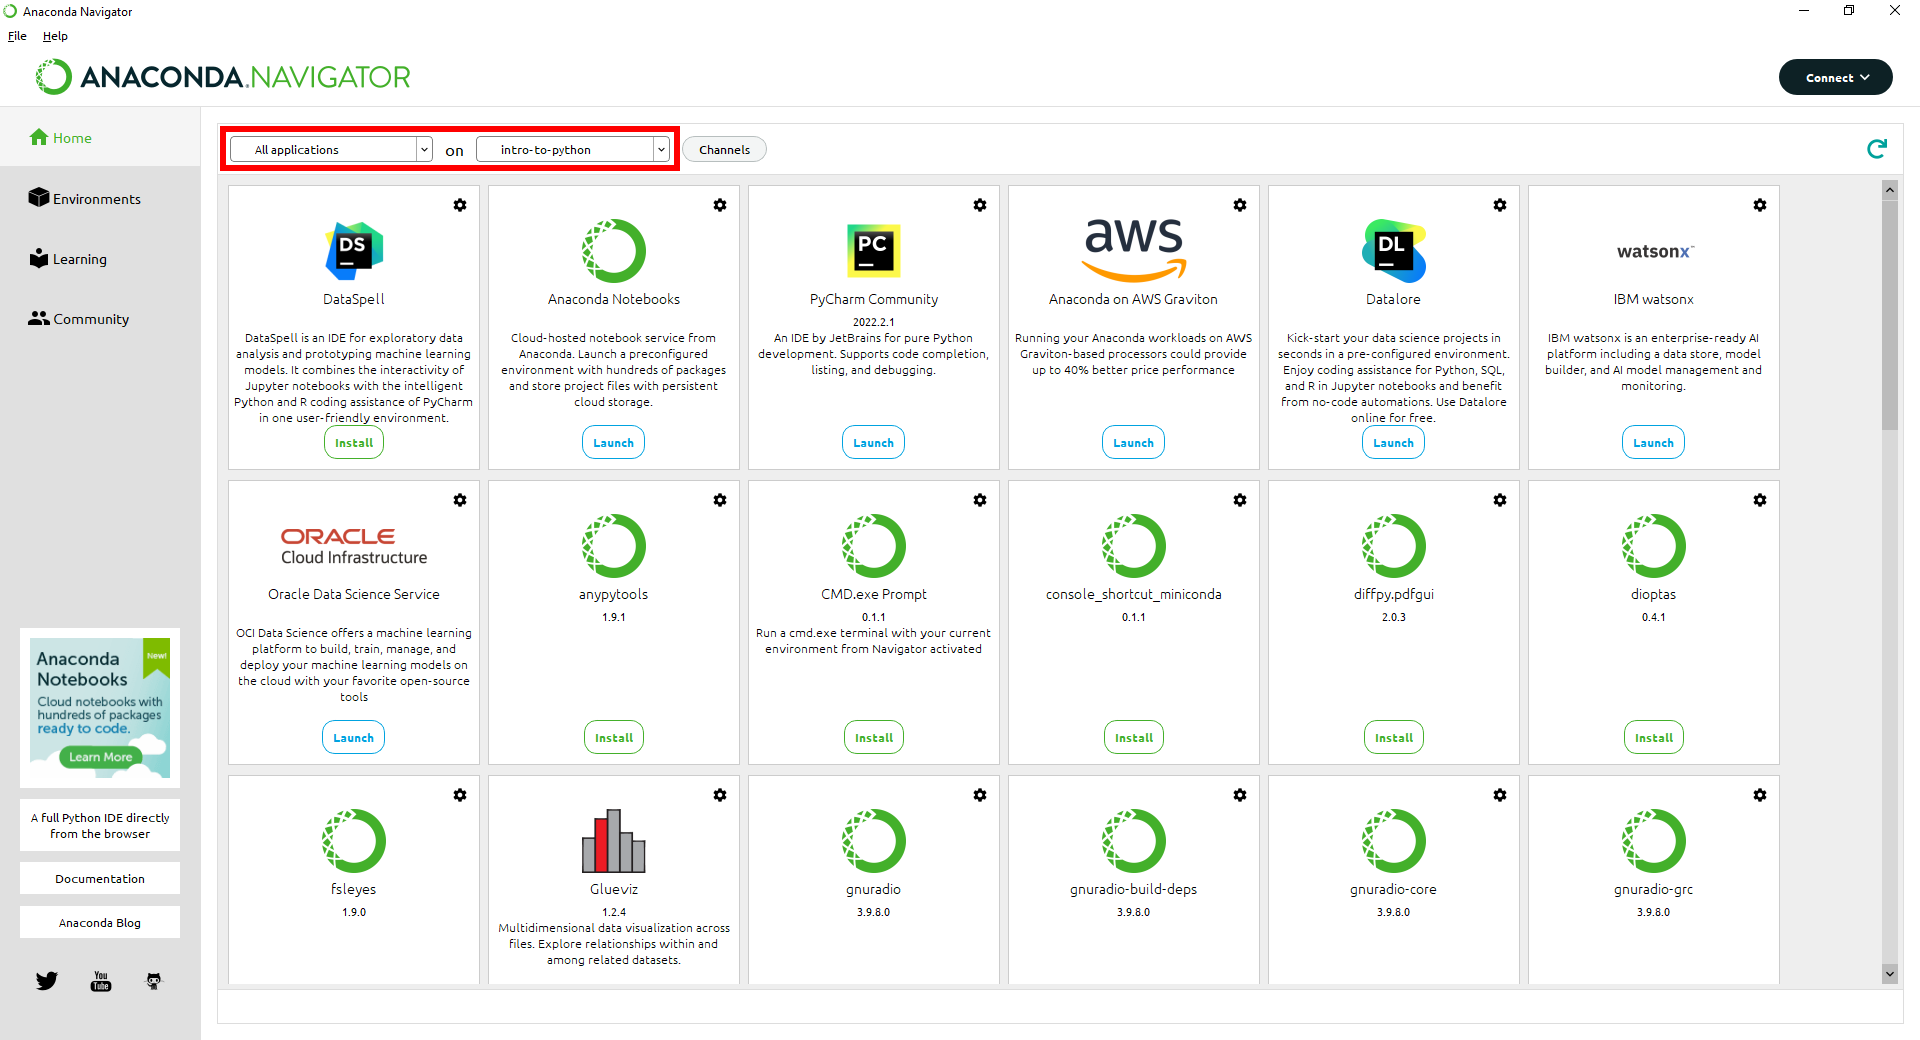
You should see that you have two different environments when you open the dropdown menu next to Applications on.
Whenever you want to switch environments in Anaconda Navigator, you can select the environment from this menu.
You should see that when you change between the base and intro-to-python environments, the list of installed
applications changes – this is because we have not installed the same applications in the different environments.
setting up the command prompt#
The final step covered in this manual is to install the CMD.exe Prompt for this environment:
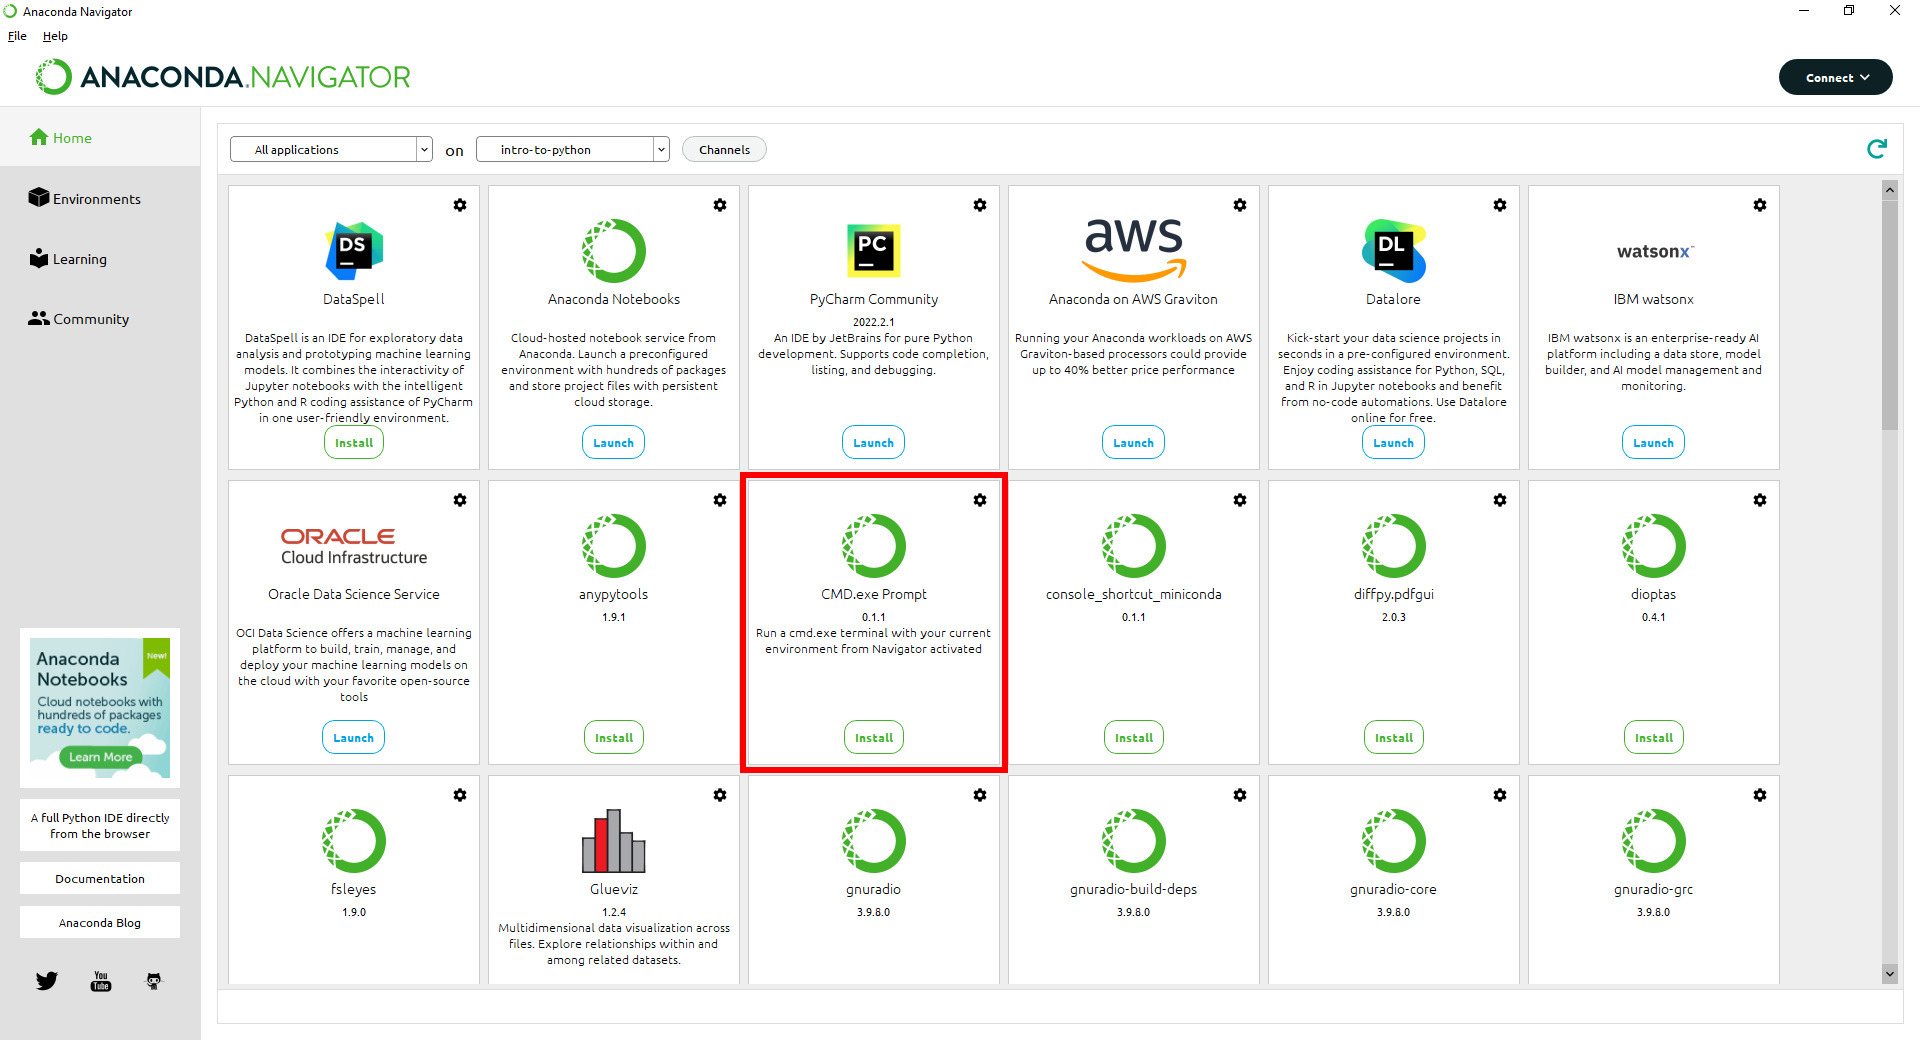
While not strictly required, this will enable you to directly launch a Windows Command Prompt with your
intro-to-python environment already loaded.
If you run the Anaconda Prompt from the Start Menu, it will automatically load the default (base)
environment, and you will need to switch environments using the conda activate command when you want to use your
intro-to-python environment.
Once you have the conda environment set up, you are ready to move on to configuring jupyter.
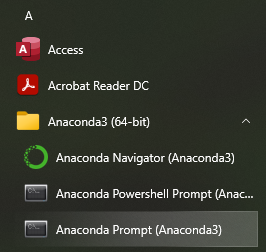
anaconda command prompt#
From the Start menu, open the Anaconda Command Prompt:
When you open the command prompt, you should see (base) next to the prompt:
(base) C:\Users\bob>
Warning
The Anaconda Command Prompt automatically loads conda so that you can use it; if you don’t see (base),
it likely means that you have opened the normal Command Prompt, and so you will see the following error when
you try to run a command with conda:
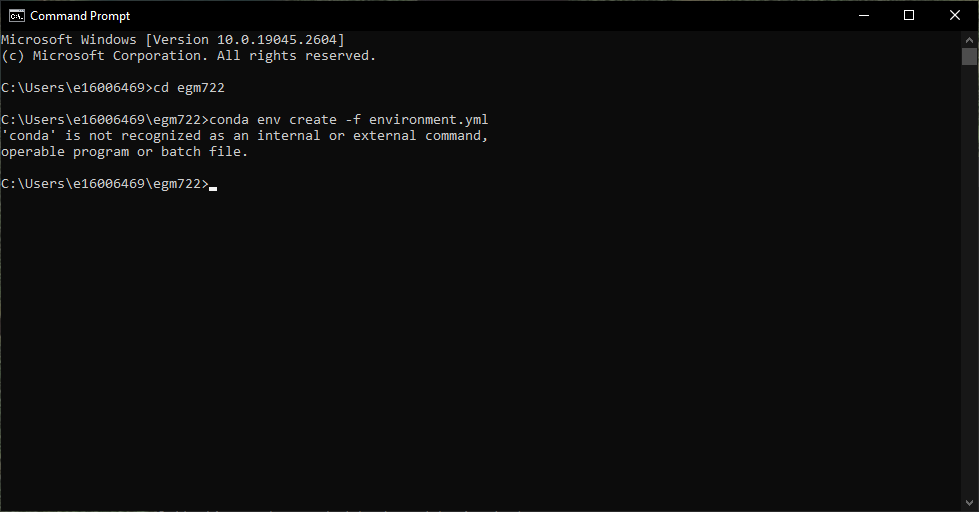
Next, navigate to where you have cloned the repository using cd:
cd c:\Users\bob\intro-to-python
If you’re in the right place, you should see all of the files from the repository when you enter the dir command.
Now, enter the following command:
conda env create -f environment.yml
This tells conda to create a new environment, using the “recipe” provided in environment.yml.
This step may take some time1, but if all goes well, you will eventually see the following message:

And that’s it. Once you have done this, you may want to open Anaconda Navigator and set up a new command
prompt link for your environment, following the instructions in setting up the command prompt.
Once you have the conda environment set up, you are ready to move on to configuring JupyterLab.