in the beginning was the command line#
There are two main reasons that we are starting by introducing the Unix shell:
The HPC(s) are boxes sat in a room very far away on campus, and there aren’t any monitors attached to them. This makes using a graphical user interface (GUI) somewhat challenging.
Delivering instructions to the computer via a command-line interface (CLI), or through a scripting language, scales far better than by using a mouse to point and click.
To illustrate the second point, let’s say that we wanted to create 1000 folders, numbered in order from 1 to 1000. Think of the amount of time it takes for you to create a single folder using the GUI; now, think of the amount of time (not to mention the absolute tedium) it would take to do it 1000 times over.
Alternatively, a single command like this one:
mkdir dir{1..1000}
accomplishes the same task in far less time. Timing this on my computer at home, this set of instructions (commands) finishes in less than a second.
the command prompt#
When you open your terminal program, you should see something like the following:
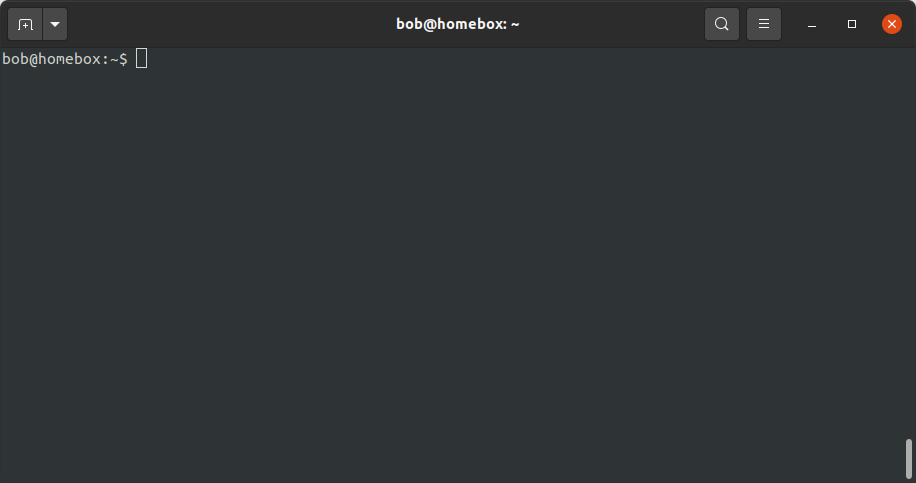
The $ symbol is the prompt - it indicates that the shell is waiting for your input.
Note
In the example above, you can also see my username (bob), the host name (homebox),
and the current directory (~, my home directory). Your prompt may look quite different to this, and may
in fact use a different character than $ to indicate the prompt.
We’ll start by using ls (for “list”) to list the contents of the current directory. To do this, type ls at the
command prompt, then press ENTER:
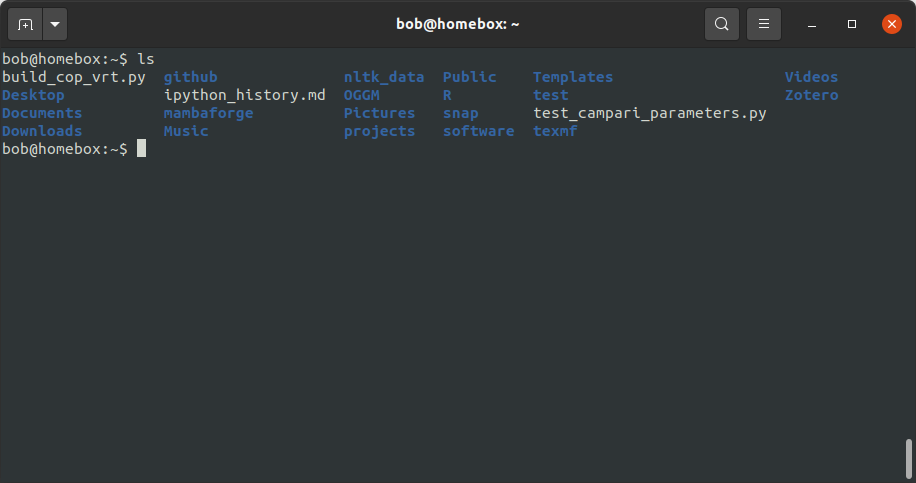
Your terminal may be set up to display things with different colors - for example, in the screenshot above, folders
are colored blue and “regular” files are colored white. Don’t worry if your output looks different - the important part
is that you are able to see the files/folders in the current directory.
getting help#
ls can do quite a bit more than simply list the files/directories in order, however. We’ll look at a few different
ways that are available to find out more about how to use a particular command/program.
Note
Depending on your shell, not all of these will work (but at least one of them should).
the –help option#
The first method we’ll look at is using the --help option (note the use of two dashes):
ls --help
For ls, this tells us what the program does, and lists all of the different options that are available. We’ll come
back to these in a moment, but for now we can move on to the next method.
the help command#
For some programs, we can also use the help command. To see which programs the help command provides help for,
type help at the command prompt:
help
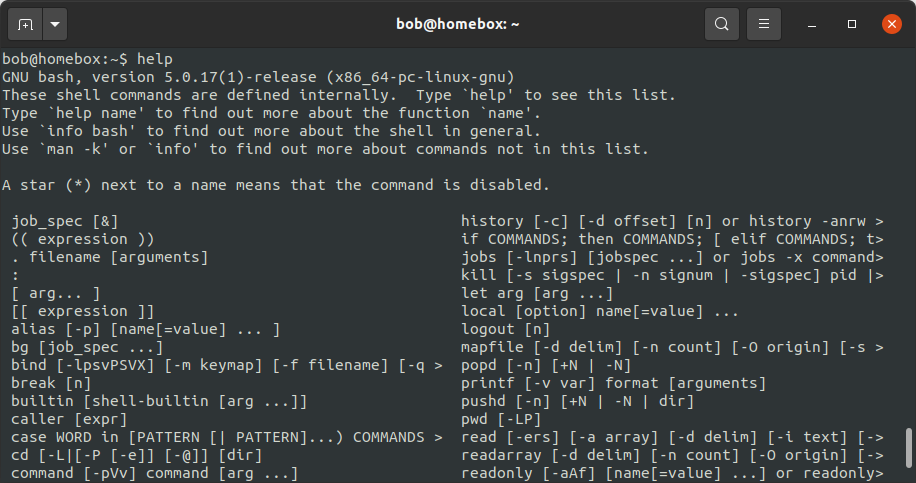
Note that ls is not actually one of the commands that help will work on, but other commands that we will
use later, such as cd and pwd, are.
“man” pages#
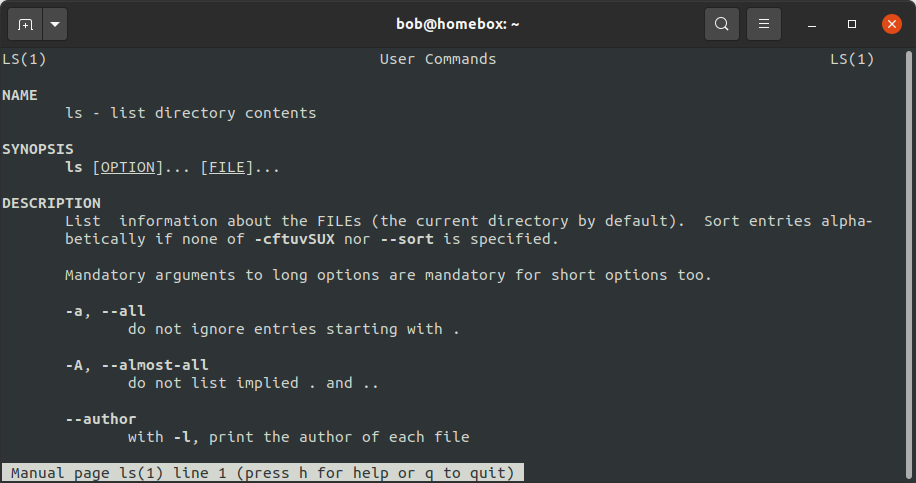
We can also try to read the man page (short for manual page) for a particular command. For example, to see
more information about the ls command, we can type the following at the command prompt:
man ls
After pressing ENTER, you should see the following:
It’s important to remember that not all commands/programs will have a man page. Some, such as cd or other
bash built-ins, only have help pages. If
you try to read the manual for a program without a man page (for example, cd), you will see the following error
message:
No manual entry for cd
using optional flags#
Look at the synopsis section of man ls, which tells us how to actually use the command:
ls [OPTION]... [FILE]...
Here, the square brackets ([ and ]) around OPTION and FILE indicate that these are optional inputs - the
program will run without any inputs at all. Later, we will see examples of programs that have required inputs.
The ... after OPTION and FILE indicates that there can be multiple inputs: we can use multiple options at a time,
as well as name multiple files (or directories) to list information about.
When we call ls, we can include a number of options to change the output. We can also specify which file(s)
(or directories) we want to list information about - as we have seen, without any additional input, ls defaults
to listing the contents of the current working directory.
By default, ls also lists files/folders alphabetically (note that on some systems, this means that uppercase
letters come before lowercase letters). To see files listed in the reverse order, we can use the -r option:
ls -r
This will show the files/directories listed in reverse alphabetical order (including lowercase, then uppercase).
If we want to list files/directories chronologically by the time that they were modified, we can use the -t option:
ls -t
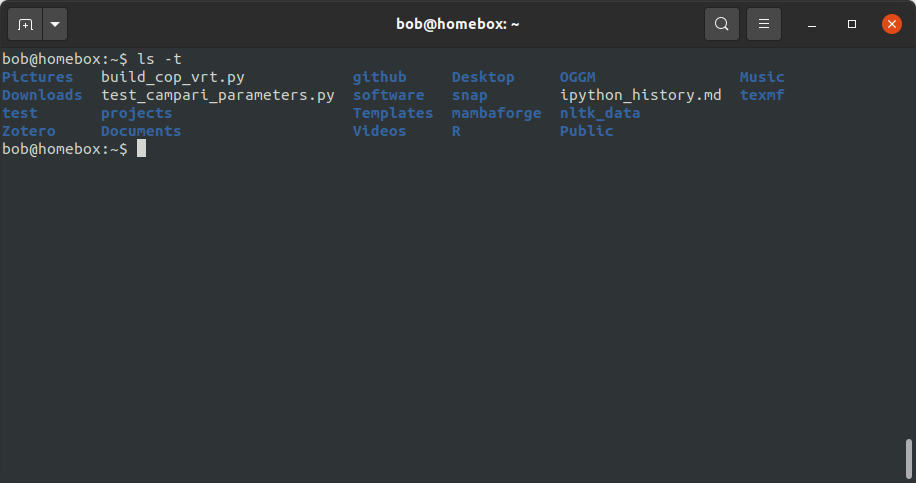
You can see that the order here is from newest to oldest - if we want to see the contents ordered from oldest to
newest, we can combine the -t option with the -r option:
ls -tr
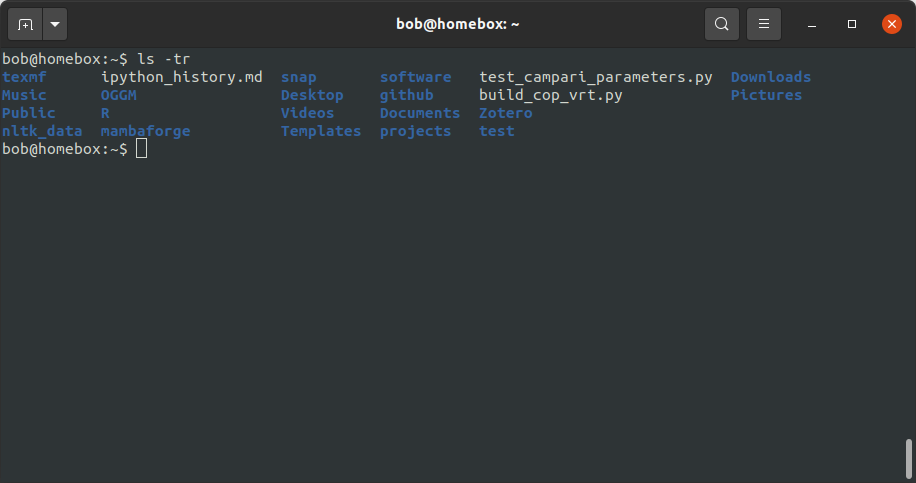
Note that -rt and -r -t will accomplish the same thing: the order of the individual options doesn’t matter.
wrong names#
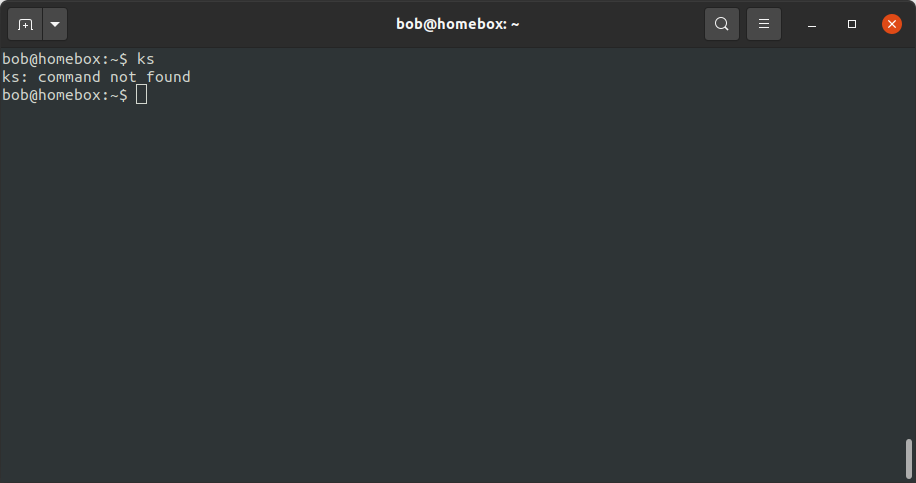
Sometimes, you may mis-type a command name (after all, pobody’s nerfect):
ks
When this happens, the operating system will print an error message indicating that it was unable to find the given command:
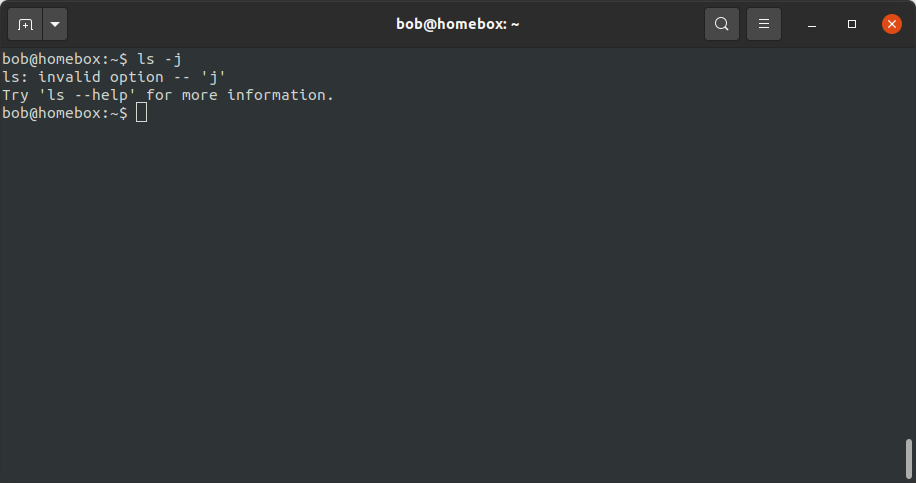
Attempting to use an option that doesn’t exist will return a similar message:
ls -j
Now that we’ve had a look at how to use commands, find help, and use additional options, we’ll move on to
navigating the filesystem from the command line.